This is a set artwork for Personal Geographies based on Mrs Moore's Perceptions of Power Project.
Overview:
Our perceptions are lenses through which we view the world. i.e. they are PERSONAL.
Hence, 'Personal Geographies' - the project title.
We will be looking at the idea of people (human figures) .....
...... existing in a landscape
...... in relationships based on our perceptions of POWER
Geography: The study of the earth and its features and of the distribution of life on the earth, including human life and the effects of human activity."
The American Heritage® Dictionary of the English Language, Fourth Edition copyright ©2000 by Houghton Mifflin Company. Updated in 2009. Published by Houghton Mifflin Company. All rights reserved.

“We must look at the lens through which we see the world, as well as the world we see, and understand that the lens itself shapes how we interpret the world.”
Step one: Concept Development Part 1
What does the 'geography' of your school look like? Sketch some ideas for the following mind-map......
Now create an illustrated mind-map discussing the above statements and your journey in the school environment. Your final artwork will be an A1 pastel or A2 pen and ink drawing. If you would like to try other media, then speak to your teacher up front.
Your teacher will show you how to make this mind-map in 45 minutes + homework!
Step 2: Photographic Research and investigation and Thumbnails drawings
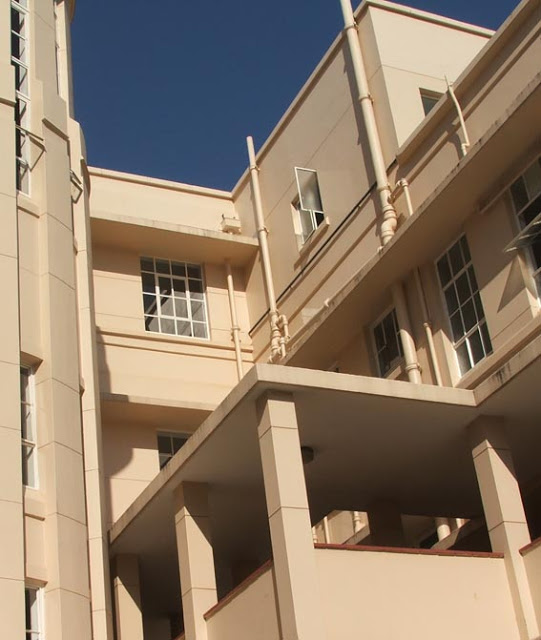
We will be photographing our school to get inspiration for the landscape - 'schoolscape'.
-
Work out your 'photoshoot' before you go out! (your rough composition sketches will count as your thumbnails) Link to Storyboard Template
Photograph at least 5 of our schoolscapes bearing the tips from the link above in mind.
Our 'schoolscape
'
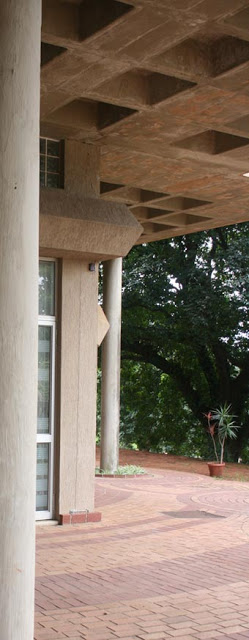

Step 3: Discussing step 2 and editing photos
Download/ upload your photos to 3 or 4 places: Art General/my documents and Google Drive and Picasa Web ALbums.
- Step A: When uploading your photos they should be set at a 150 Resolution or the file size is too big. This means that you should probably set your batch resize setting on no larger than 600 pixels for width and length. link to a tutorial Mrs Moore found on batch resizing photos
- Step B: Just a heads up sometimes photoshop will not open Art General folders so you my need to save photos in my documents. This means that you can only access them on one computer in the art room. See your teacher if you are stuck.
- Step C: Upload the resized images to your Google Drive
- Step D: Upload resized images to Picasa Web Albums or Google plus Link to Picasa Web Albums
- You may need to use Photoshop (on the desktop PCs) or Pixlr Editor (for online netbook work), to edit your photos and improve the composition. To edit on Pixlr Editor you need to create a web album on Picasa or Google plus. You then open your images from Library in Pixlr editor.
- For convenience link pixlr to your google account. link to Pixlr

REFLECTION: Write about how you have applied the AYV compositional tips to your images.
Remember to use screenshots to record each editing process. (to create a screenshot press the “Print screen button” (PrntScr) and then click on paste in a powerpoint on Google drive or Microsoft Office. You can also use screen grabs or snag it. see your teacher for accessing this function on your smart phone (iphones, ipads and samsungs use a combination of the home and lock button to create a screen shot).
- Sometimes Google docs do not paste screen shots quickly, so it is easier to download an app called Snagit (click here for Link to Techsmith Snagit) . This app automatically uploads your screen shots to a folder in your google drive. Just check that both the extension and App is linked to your google drive and that you have downloaded chrome as your browser. link to Chrome extension for Techsmith Snagit
Step 3: Research Illusions of Space
Step 4: Process Drawings and experimentation
Step 5: Creating Figures for your drawing
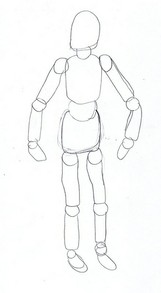
Use the tracing paper provided to create small figures (or one figure?) that fit into your schoolscape. The idea is to focus on perceived ideas of some people being in power, and others not. You may use exaggerations and distortions to create these situations. They don't have to match the scale of the 'schoolscape'. e.g huge head looming over the top of the stairs?
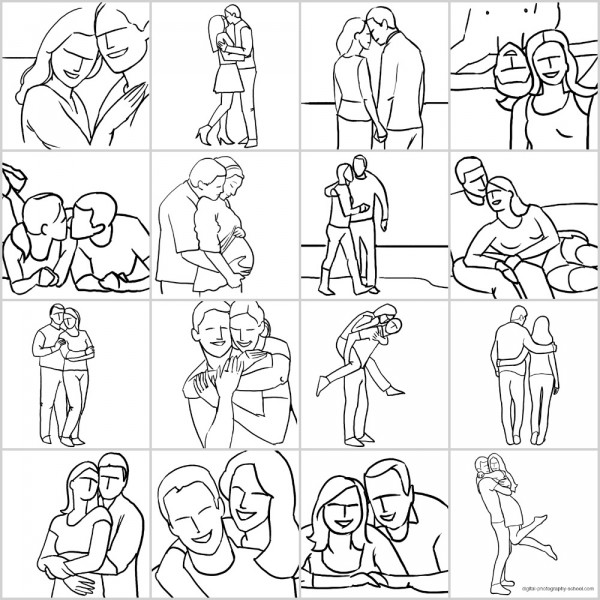
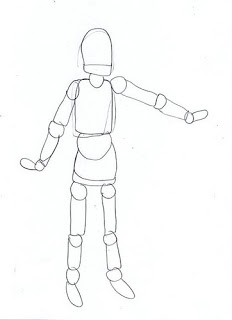
Make use of your pencil & eraser to make these figures, and use the 'mannikin' method that you will be shown.
-
Below is link on various poses for people.
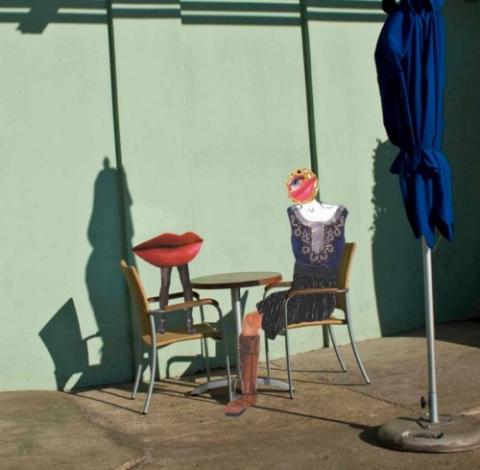
Frolic 1 Amy Jo Windt
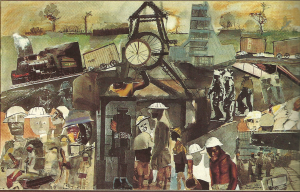
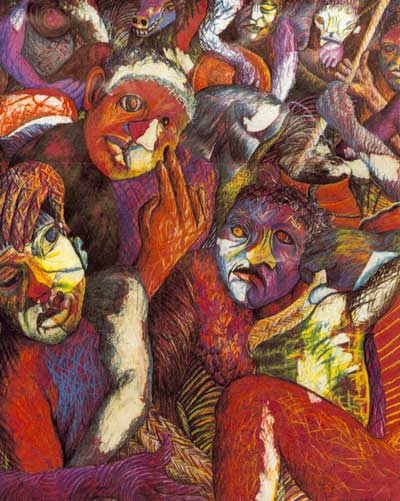
Helen Sebidi
Mother Africa 1988
Pastel and collage on paper
162 x 128 cm
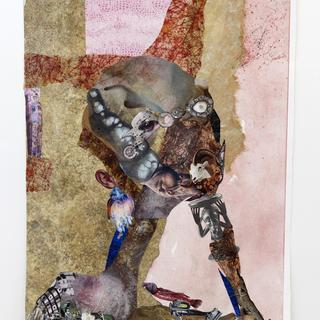 Wangechi Mutu
Step 6: Digital Collage Experiment and Adding Figures to your drawing
Scan your drawings of figures and ladscapes at 150ppi, and save it in your Art General Folder as a .jpg or upload it to Google Drive.
Put your figures into your schoolscape to express your intention. You can use EITHER a physical collage method or a digital 'cut & paste' method.
Step 7: Reflect on experiments
Use small chunks of paper(i.e. Post its) to reflect on the various artworks you have produced and processes you have undertaken.
Assemble your notes and samples onto A3 pieces of card or scan in your work and create a digital sourcebook.
Step 8: Concept development Part 2: FInal Intention
Create an image of your final composition that you will be using for LO2. Write about why you have chosen this particular arrangement and environment. Look at the requirements for LO2 and make sure that your idea allows you to score well on this rubric.
Add this to your sourcebook by creating an A3 poster or digital link.
Step 9: Presentation and Self- Evaluation
Add your headings and content page to your sourcebook and bind it into book format.
Click on the following link to assess your sourcebook. Make sure you have covered all aspects of the project.
SUMMARY - your goals for your sourcebook
You are looking at AT LEAST 6 x A3 pages or the equivalent.
You MUST work in class; at home; in Open Studio - before the deadline.
- Illustrated mindmap
- Rough storyboard and annotated photos of the school, with screenshots of photographic editing processes
- Annotated drawing showing use of space (A4 or A3)
- Tracing paper/collage/drawn figures and spatial experiments with collage
- Final 'mini' composition for LO2 - your intention
- Presentation and evaluation before hand in
Step 10: Hand your completed sourcebook in to your teacher or email/ share the link to your digital sourcebook. Make sure your teacher has received your work.
You may now begin collecting the materials for LO2. Make sure you take into consideration any feedback or comments your teacher has made on LO1.









 -
- g
g r
r -f
-f